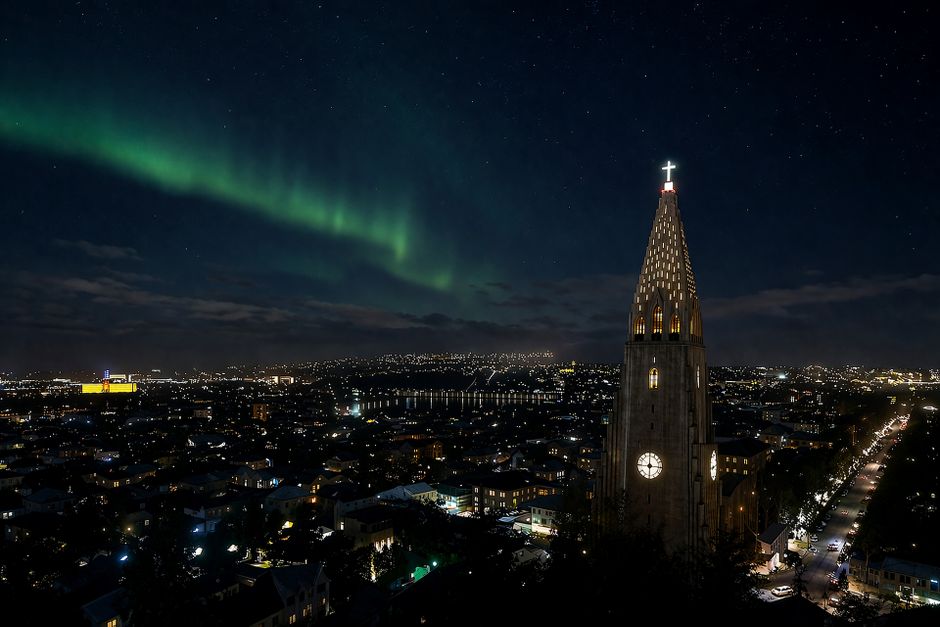
Hey fellow travelers—if you’re staring at a pile of Reykjavik northern lights tours wondering which one doesn’t waste your night, I’ve been there. I’ll rank the best tour styles for first-timers and give you a practical checklist for what to verify before you book.
Reykjavik is one of the best bases in the world for aurora viewing, but the experience still comes down to boring things: group size, how long you’re outside, how they handle cloud cover, and whether they’re set up for photography or just “look up and hope.”
1) Ranked tour styles for first-timers (from Reykjavik)
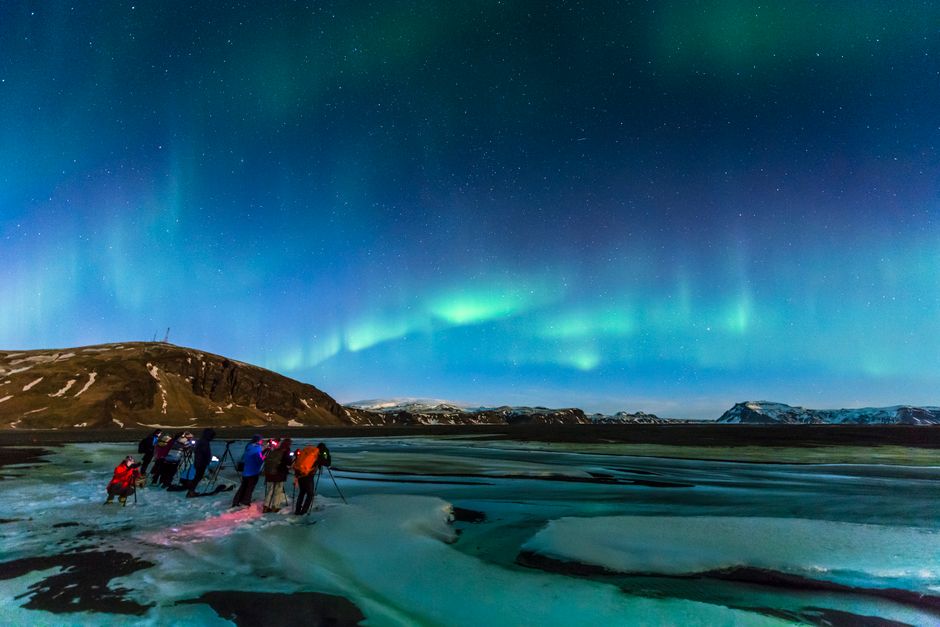
If you only want one answer: pick the style that matches what you care about most—more chances and more time outside, or lower cost and simpler logistics.
1) Small-group “hunt mode” tours (8–14 people)
This is usually my top pick for first timers because it balances two things that matter: time and flexibility.
Why it’s great (pros):
- Fewer people = less waiting around and more time actually spent looking up.
- Guides can usually change the plan faster if the sky shifts.
- You’ll tend to get better photo help (tripod-friendly spots, reminders, positioning), even if it’s not marketed as a “photo tour.”
Typical duration: 4–6 hours (often including transfers).
What to check before booking:
- Max group size (look for “under ~15” rather than “small” as a vague word).
- Stated strategy for clouds: do they stop more than once? do they “chase” within a region?
- How many hours outside (not just total tour length).
- Pickup details: exact pickup time window, and whether you’ll be returned to the original meeting point.
Trade-off: Usually costs more than coach tours—but you’re paying for attention and time.
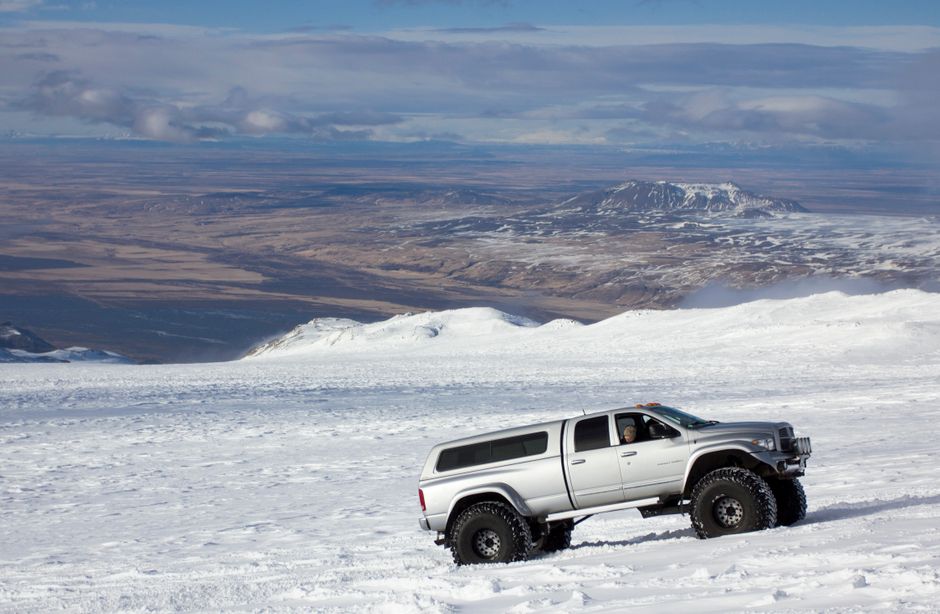
2) Super-Jeep / off-road style tours (for rough-weather routes)
If weather looks changeable (snow, wind, muddy roads), this style can help you get to places that feel more “out of town.”
Why it’s great (pros):
- Often gets off the main roads, aiming for darker skies.
- Your guide is trying to solve a real problem: visibility.
- Small groups are common, so you’re not fighting the crowd for a view.
Typical duration: 3.5–5.5 hours.
What to check before booking:
- Driver experience and vehicle comfort: ask if the ride is bumpy and whether they provide time to warm up if needed.
- Stop expectations: do they plan 1 long stop, or several shorter stops?
- Tripod policy: if you’re bringing a tripod, confirm how they handle it in the vehicle.
Trade-off: Not the coziest ride for everyone. If you hate bouncing around, go small-group (hunt mode) instead.
3) Coach / larger-group tours (30–50+ people)
These are the budget-friendly option and they’re totally fine—if you set expectations.
Why it’s great (pros):
- Lower cost.
- Usually dependable pickups around central Reykjavik.
- Good for the “I just want to see it once” traveler.
Typical duration: 2.5–4.5 hours.
What to check before booking:
- How long you’re outdoors. Coaches can sometimes mean “a lot of driving” and “not much looking time.”
- What “northern lights guarantee” means (more on this below). Many “guarantees” are really “we’ll try again if you meet conditions.”
- Photo support: will there be tripod time and a dark-sky stop, or is it mostly a quick viewing session?
Trade-off: Bigger group = more waiting and less flexibility if clouds roll in. You’re often buying simplicity, not the best odds.
2) More good options, depending on what you want most
If small-group “hunt mode” isn’t available on your dates (or it’s priced higher than you want), these are the next most sensible choices.
4) Photo-first tours (tripod time, darker stops, camera coaching)
Pick this if your main goal is photos—not just a quick glance.
Why it’s great (pros):
- More intentional setup for cameras (tripod handling, suggested settings, timing guidance).
- Longer or more frequent stops aimed at good viewing angles.
- Often includes a guide who understands aurora photography (even if you’re using a phone).
What to watch for:
- Some tours market “photo guarantees,” but the aurora itself is never something anyone can force.
Typical duration: 4–7 hours.
What to check before booking:
- Tripod policy and space: do they allow tripods for everyone, or only for people who pay for an “advanced” option?
- Cloud strategy: do they plan to move, or are they committed to one location?
- Level of instruction: will they help with smartphone vs DSLR, or is it aimed at one group?
Trade-off: You might pay extra even if you’re not actually going to take photos seriously.
5) Flexible “chase the clouds” tours (multiple stops / second attempt)
If you’re risk-tolerant and want the best shot at “seeing something,” this is often the best match.
Why it’s great (pros):
- More chances in one night via multiple stops.
- Many itineraries adjust based on real-time cloud cover and aurora activity.
- Some include a plan for “if it’s too cloudy, we’ll try again” style outcomes.
Typical duration: 5–8 hours (varies a lot).
What to check before booking:
- What counts as a “second attempt” (same night only? rescheduled? weather-dependent conditions?).
- The fine print on eligibility: are you required to arrive early, stay full duration, or meet a minimum weather threshold?
- Return time: if you’re doing this on a day with an early flight, make sure you understand how late you’ll be back.
Trade-off: This style can be longer. If you’re the type who gets restless after a few hours in the cold, you’ll want to choose smaller-group instead.
6) Short-and-sweet tours plus an “extra look” plan (for busy first timers)
These are a good compromise when you want aurora time but you also need downtime, dinner, or an early morning.
Why it’s great (pros):
- Shorter blocks mean less strain if you’re arriving from travel.
- Works well if you’re also doing another aurora-related activity (like a guided “weather + aurora” night session).
Typical duration: 2.5–4 hours.
What to check before booking:
- Is it a single stop or multiple stops? Single-stop short tours are higher-risk.
- How they pick the location: do they follow a “dark-sky area” plan, or do they just drive and hope?
- Whether you can add flexibility: ask if there’s an option to switch dates or join another session if your first night is a wash.
Trade-off: Short duration usually means fewer chances. If the aurora is faint or clouds roll in, you may not get the outcome you imagined.
3) What to check before you book (quick checklist)

You can absolutely compare tours without becoming an aurora expert. Here’s what I’d look at—line by line—before handing over money.
Watch the wording around “photo guarantee” or “aurora guarantee”
A real aurora guarantee is basically impossible (solar activity and clouds are out of human control). But some tours still include policies that improve your odds.
What good wording sounds like:
- “If weather conditions are poor, we’ll adjust the route”
- “We’ll try multiple locations”
- “If we miss your window due to conditions, you can rejoin or get a credit”
Red flags:
- “Guaranteed to see the lights every night”
- Guarantees that rely on unclear criteria (“weather permitting” with no explanation)
My rule: If the guarantee depends on conditions, the tour should clearly explain those conditions and what you get if it doesn’t work.
Size + vehicle type: how it affects your actual viewing time
This is the part first-timers often ignore.
Check these details:
- Group size (under ~15 is usually a smoother experience).
- Vehicle type:
- Coach = cheaper, but you might lose time.
- Smaller van/mini-bus = often the sweet spot.
- Off-road vehicles = helpful for access + rough conditions.
- Stop count (one long stop vs several shorter stops)
- Driving time vs viewing time (look for any mention of how long you’re outside)
If the listing only says “we’ll search for the aurora,” that’s less helpful than “we’ll make X planned stops.”
Duration + pickup: make sure it fits your night (and your patience)
Northern lights tours can run late, especially in winter.
Verify:
- Pickup window (not just a single time).
- Return time estimate.
- Total time outside (or at least: how often they stop).
- Meeting point clarity if pickup isn’t included.
If you’re traveling solo, also check if they group you with others at pickup or keep you separated.
Where I compare options when I’m planning
When I want to quickly scan what’s included (group size, duration, pickup notes), I usually cross-check listings on Viator before narrowing down to one style.
(Then I still read the details carefully—tour descriptions can be… optimistic.)
4) Making the most of your night (so you don’t miss the moment)

Even the best tour style won’t help much if you’re under-dressed or mentally checked out after 30 minutes.
Dress for Reykjavik cold like it’s your job
You’ll be outside, often standing, often waiting.
I recommend packing these basics:
- Waterproof boots or shoes with grip
- Thermal base layers (top + bottom)
- Insulated jacket + a windproof layer
- Warm hat + gloves (the cheaper ones that actually keep heat are better than “fashion gloves”)
- Optional: hand warmers
Trade-off: You can stay comfortable longer, which means you’re more likely to spot faint aurora or clouds clearing.
Ask smart questions early (you’ll get better stops)
In the first few minutes—before you’re cold and distracted—ask your guide.
Good questions:
- “How many stops are planned tonight?”
- “Is this primarily a photography tour or general viewing?”
- “What’s your plan if the first location is cloudy?”
- “Are we likely to be able to use tripods here?”
Guides adapt based on sky conditions, but the best ones also know what travelers need.
Expect movement—and don’t get stuck staring at one spot
Auroras can appear, fade, and reappear. The cloud cover can also change quickly.
What to do in the moment:
- Take a few minutes to let your eyes adjust to the dark.
- Look up in wide sections of sky, not only one corner.
- Be ready to walk or re-position if your guide moves you.
Reality check: On a night with strong aurora, it’s obvious. On weaker nights, you may need patience and the right viewing angle.
5) When to go (and how many nights to plan)
You don’t need a meteorology degree—you just need the right expectations.
Best months for northern lights around Reykjavik
In general, the prime season is the colder, darker months.
A practical window:
- Roughly Sep–Mar for the best combination of darkness and winter viewing conditions.
Trade-off: The “best” months can also be the busiest and sometimes pricier.
Weather reality: clouds are the real boss
People blame “aurora activity” when the actual issue is often cloud cover.
Know what tours can and can’t do:
- They can drive you to different areas.
- They can adjust stops if the itinerary is flexible.
- They can’t see through thick cloud.
That’s why tour style matters: multiple stops + flexible routing generally beats single-location viewing.
First-timer strategy: one night vs two attempts
If you only have time for one tour, go for the style with more time outside and a plan for changing conditions.
If you can do two nights, consider:
Option A: Two nights, smaller risk
- Book smaller-group viewing on both nights, or
- Do one photo-first night and one hunt-mode night.
Option B: One “high-odds” longer session
- Choose the longer flexible/chase-the-clouds style and commit fully.
My honest take: Two attempts beat one when you’re serious about actually seeing it—especially if you’re visiting during a week with heavy cloud cover.
Final thoughts: pick your style, then commit
If you’re a first-timer, you don’t need the fanciest “guarantee.” You need a tour that gives you enough time outside, enough flexibility to react to clouds, and a group size that doesn’t turn your night into a shuffle.
My quick recommendation:
- Choose small-group hunt mode as your default.
- Go photo-first if images are your priority.
- Choose chase-the-clouds / longer flexible sessions if you want the highest odds and you can handle the cold and the duration.
If you want, tell me your travel dates (and whether you’re into photos or just want to see the lights visually) and I’ll help you pick the best tour style from this list.