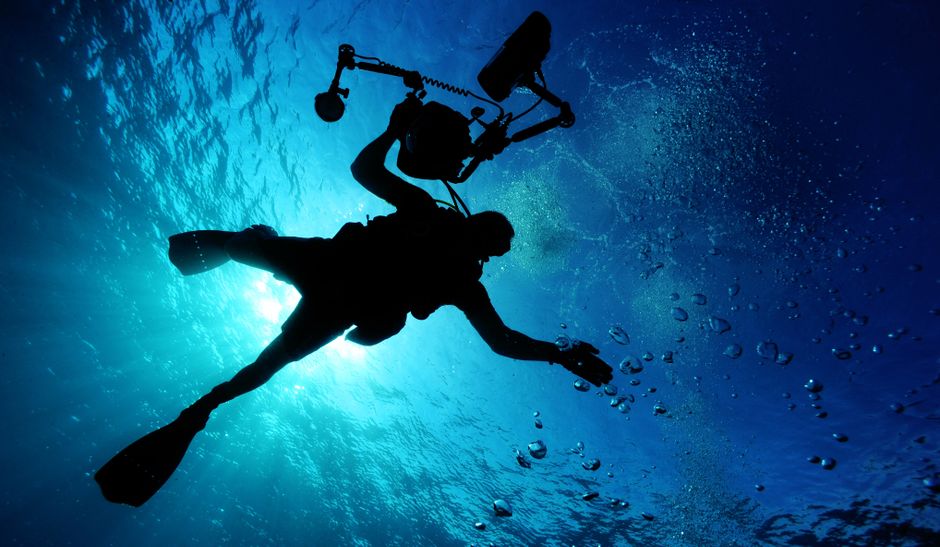
Hey there, fellow underwater wanderers—if you’re planning a scuba trip, your insurance has to match the kind of diving you’ll actually do. In this guide, I’ll walk you step-by-step through dive limits, medical evacuation, decompression/chamber coverage, and the documents you’ll want for claims.
I’m going to be really practical here, because scuba coverage can sound “included” while quietly excluding the exact risk you’re worried about.
Start With Scuba-Specific Coverage Limits
When people say “I bought travel insurance that covers scuba,” what they usually mean is, “I bought something that doesn’t immediately refuse me.” The real question is: does the policy cover your type of diving and your depth profile?
Step 1: Check the depth limit (and what it’s actually based on)
Most dive-related exclusions come down to depth. Policies may state a maximum depth like “up to X metres/feet,” but the fine print often matters.
Look for answers to these:
- The stated maximum depth (metres/feet) and whether it’s per dive or across the trip.
- Whether the limit covers recreational scuba only or also advanced certifications.
- Whether the insurer uses your training level (e.g., Open Water vs Advanced) when applying the limit.
- Any “no deeper than” language tied to “scuba diving” coverage specifically, not just “sports.”
Practical trade-off: if you’re planning deeper dives, “standard” scuba add-ons can get expensive fast—and sometimes only the expensive plans include adequate depth coverage.
Step 2: Confirm your diving activity is named and allowed
Even if you’re diving legally with a guide, policies can still draw lines based on how you dive.
Here’s what to verify in your policy wording:
- Does it say “scuba diving” (good) or only “snorkelling,” “sport,” or “diving” broadly (sometimes weaker wording)?
- Does it cover shore diving and boat diving, or only one?
- Does it require you to be certified (often yes) and, if so, what certification level?
- Does it allow diving with a professional instructor/guide (commonly required)?
Step 3: Make sure the “limit” matches your trip pattern
Insurers don’t just think in “max depth.” They can care about your overall dive profile.
Before you buy, consider:
- Are you planning repeated days of diving with multiple dives per day?
- Will you be doing multiple dives beyond your training comfort even if you stay “just under” the depth limit?
- Are you mixing in higher-risk profiles (wider gas planning, longer dive times, colder water) that change decompression stress?
A quick reality check: you might be totally safe medically and still run into paperwork trouble if your dive profile is outside what the policy covers.
Medical Evacuation: The Part That Matters Most
If something goes wrong, you usually need two things: urgent medical help and a fast route to definitive care. That’s where medical evacuation coverage becomes the core of your scuba insurance.
Step 4: Understand what counts as “medically necessary evacuation”
Read the section that describes how evacuation works—this is where policies differ a lot.
Look for language like:
- Medical necessity rather than “injury related to a covered activity” only.
- Evacuation for decompression illness symptoms, serious respiratory issues, or other acute diving-related emergencies.
- Whether the insurer decides before transport or only after initial medical assessment.
Be careful with policies that:
- Automatically assume the injury is treatable locally (when treatment may need specialist support).
- Use vague wording like “emergency” without explaining how they apply it.
Step 5: Check destination/transport details (not just the max payout)
A high limit is good, but it doesn’t help if the routing is unclear.
In the policy or product summary, try to locate:
- Where they will send you (local hospital vs another facility vs “repatriation” to your home country).
- Whether they cover air ambulance or similar services.
- Any geographic exclusions or limits by region.
- How they handle delays (for example, waiting for a specialist or chamber availability).
Trade-off I’ve seen: cheaper plans sometimes cap evacuation in ways that make them basically useless for remote diving locations.
Step 6: Confirm pre-approval or coordination requirements
Some insurers require coordination through a 24/7 assistance line.
You want to know:
- If you must contact assistance before transport (and what happens if you can’t).
- Whether the dive operator/hospital calls on your behalf.
- What phone numbers and references you’ll need.
If a policy says you “must call assistance,” don’t assume “we’ll call later.” In urgent situations, that requirement can become a claims headache.
Decompression, Chamber Care, and Hyperbaric Treatment
This is the section you should read even if you’ve never had an incident—because this is where policies often get very specific.
Step 7: Check decompression treatment and hyperbaric chamber coverage
When divers talk about “chamber coverage,” they mean more than a vague promise that “medical is covered.” What you want is a clear match for:
- Hyperbaric oxygen therapy (or similar terms).
- Treatment by a qualified facility (often a named type of provider).
- Costs for the procedure itself, and not just hospital admission.
Pay attention to whether the policy:
- Covers treatment medically necessary for suspected decompression issues.
- Requires a diagnosis first, or whether it covers urgent treatment based on symptoms and medical judgement.
Step 8: Look for limits, caps, and how “reasonable and customary” is applied
Even if chamber treatment is covered, the insurer may limit it.
Scan for:
- Sub-limits for hyperbaric treatment or specialized care.
- Restrictions tied to length of treatment.
- Any “reasonable and customary” language that could be read narrowly.
I’m not saying insurers are out to get you—but in claims, wording becomes everything.
Step 9: Learn what might be excluded under “prevention” versus “treatment”
Common sources of disappointment include:
- Coverage refusing prophylactic or preventive “treatment” when there isn’t a qualified medical trigger.
- Exclusions that hinge on whether symptoms are officially diagnosed.
You can reduce risk by:
- Getting medical help quickly if you feel unwell after a dive.
- Keeping documents that show what symptoms you had, when they started, and what clinicians concluded.
Common Exclusions That Catch Divers Off Guard
Let’s talk about the stuff that shows up in many policies. Not every insurer uses the same exclusions, but these are the usual suspects.
Typical dive activities insurers treat differently
If your plan includes any of the following, double-check coverage wording and certification requirements:
- Wreck diving
- Cave diving
- Night diving
- Technical diving (beyond typical recreational configurations)
- Deep diving beyond your certification or insurer depth limits
- Self-guided/diving outside a supervised program (if the policy requires an operator)
This isn’t me fearmongering—it’s just the reality that “scuba” can mean very different risk categories in an insurance contract.
Common policy exclusions related to diving and behaviour
Policies often exclude or limit claims tied to:
- Diving without required certification
- Diving outside permitted limits (depth/time/profile)
- Incidents after alcohol or intoxication
- Claims that arise from not following dive safety procedures (for example, skipping safety stops) if the insurer argues it contributed
- Unapproved activities described only as “optional” or “included” on marketing pages
Important: I’m giving you the patterns, not a guarantee. Always confirm what your specific policy says.
Pre-existing medical conditions and diving (read the “fitness” section)
This can be the trickiest area because it’s often handled differently across insurers.
Look specifically for:
- How the policy defines pre-existing conditions
- Whether it requires you to be fit to dive per a doctor’s assessment
- Any exclusion wording tied to respiratory issues, heart conditions, or anything that affects equalization/oxygenation
Practical trade-off: if you have a medical history, you might need either a more tailored policy or extra documentation. That costs money, but it’s cheaper than a refused claim.
Claims Documentation: What Insurers Actually Ask For
If you ever need to file a claim, your goal is simple: make it easy for the insurer to connect the dots between the dive, the symptoms, the treatment, and the cost.
Step 10: Before you go—gather dive and trip records
I always tell people: “Take pictures, save PDFs, and keep receipts.” It sounds basic, but it’s what wins.
Try to keep:
- A copy of your insurance policy documents and coverage schedule
- Your dive logs (paper or app exports)
- Proof of certification and level (if required)
- Dive operator details: name of the company, location, dates, and (if available) the log of the dives you did
When you’re dealing with decompression-type claims, having a consistent timeline helps.
Step 11: During an incident—get medical paperwork immediately
If anything goes wrong after a dive, you’ll want records that clearly show:
- Your symptoms and when they started
- The medical assessment and clinical findings
- Whether doctors suspected decompression-related illness
- The treatment provided, including chamber involvement if relevant
Also, if a clinic or chamber is involved, ask what documents they can provide (even if it’s a report summary).
Step 12: After treatment—keep evidence of cost and communications
For reimbursement, insurers commonly want evidence of:
- Receipts/invoices (hospital, chamber facility, transport)
- Proof of evacuation arrangements and any transfers
- Any assistance center reference numbers (if you used their hotline)
If the insurer requires you to report quickly, you’ll also want:
- The email/case number
- Dates and times you contacted support
Step 13: Know how insurers review claims (and where they can deny)
In my experience, denials often come from one of these:
- The policy didn’t cover the dive type/depth you did
- The insurer argues the injury/treatment wasn’t related to a covered scuba incident
- Missing paperwork or unclear timelines
- Coverage restrictions around pre-existing conditions or required certification
One tip that’s saved me time: I use Ekta to quickly pull my policy documents when I need them for a claim—especially while I’m travelling and trying to keep everything straight.
Final Thoughts
Scuba insurance isn’t about finding the cheapest policy—it’s about matching your actual dive plan to what the contract covers. Start with depth and activity limits, then move on to medical evacuation and the specific coverage you need for decompression and hyperbaric/chamber treatment. Finally, make claims easier by keeping dive logs, certification proof, and clean medical/treatment paperwork.
If you want one simple mindset: buy coverage for the emergency you hope you’ll never need, and document everything like you’ll have to prove it later—because with insurance, you often do.